Throughout the production process, we used a variety of different types of technologies.
The hardware we used included:
- Canon DSL 650 D
- IMac
- Mic
- Flipcam
- Lights (and with Filter)
The software’s we used were:
- Final Cut Pro
- Blogger
Hardware
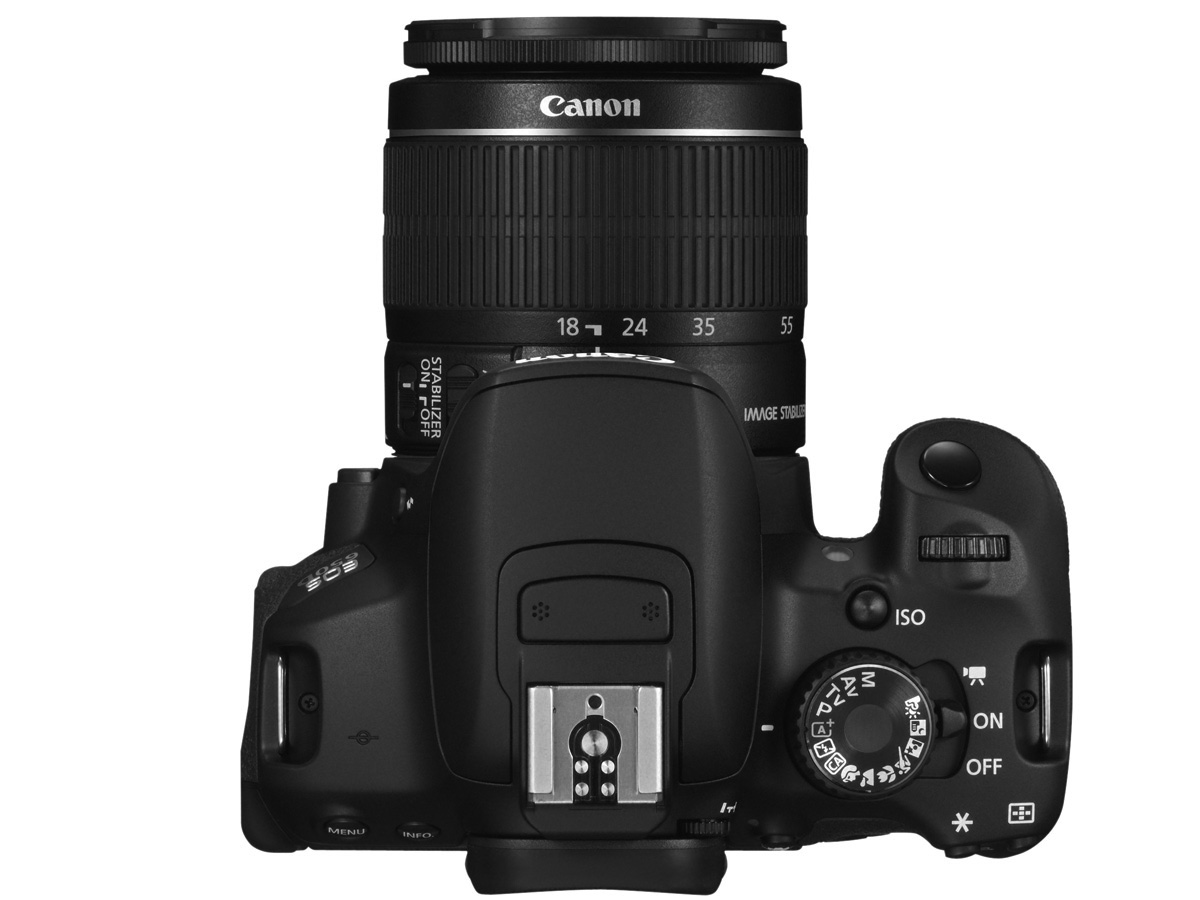
DSLR Canon D650 with an 18-55m zoom lens
Pros
 The
zoom lens allows to change focal points between the range of 18-55mm,
this means we don’t have to move to get closer the subject as you would
with a Prime lens. To add the focal length of the lens, allow the
flexibility to do close ups at 50mm, mid shot at 35mm and wide shots at
18mm and the focus ring allows the image to be sharp. The lens had
options to of autofocus, which detects the distance the subject is from
the lens and changes the focal length automatically rather than using
the focusing and zooming ring. Also, the lens has image stabilisation
controls to make video smoother while recording.
The
camera is 18 megapixels this mean the video can be expanded to a
certain extent (3872 x 2592) without becoming pixelated, as there are 18
million pixels in the camera. This is not evident on a small screen
when comparing to a 10-megapixel camera however on a much larger screen
the 18-megapixel camera is crisper compared to the 10 megapixels.
The
camera was also touch screen making the user interface was very easy to
use. The fact that the camera had touch screen there was shortcuts to
many things such as ISO change, aperture, shutter speed and white
balance. The camera only has a couple buttons to change over two dozen
settings, so the touch screen shortened that process.
Cons
Battery
life was an issue for us since we had to use 2 battries. The battery is an 1100mAh battery, this is slower than most
smartphones that are currently out. The battery can only last 2hrs 10m
while continually recording. This was an issue for us because we were
contently switching our camera on and off to preserve battery life. As a
result of the poor battery life, we had restricted the number of taking
per shoot only one take, meaning we had very limited footage to pick
from.
The
Camera performed poorly in low light areas this was evident when we saw
the grain in the raw footage. This was because the ISO was too high as a
result creating the grain, however, we had to do this as it would have
been too dark to see the subject. The lighting we had was not bright
enough to get rid of the grain. Also, the larger the viewing screen is
the more the grain.
Lastly,
the camera had an inbuilt mic that was very poor the mic picked
unwanted sounds such as the zooming and focusing ring was operating this
as a result meant that we were unable to use it for dialogue. However,
we were luckily supplied with an external Rode boom mic.
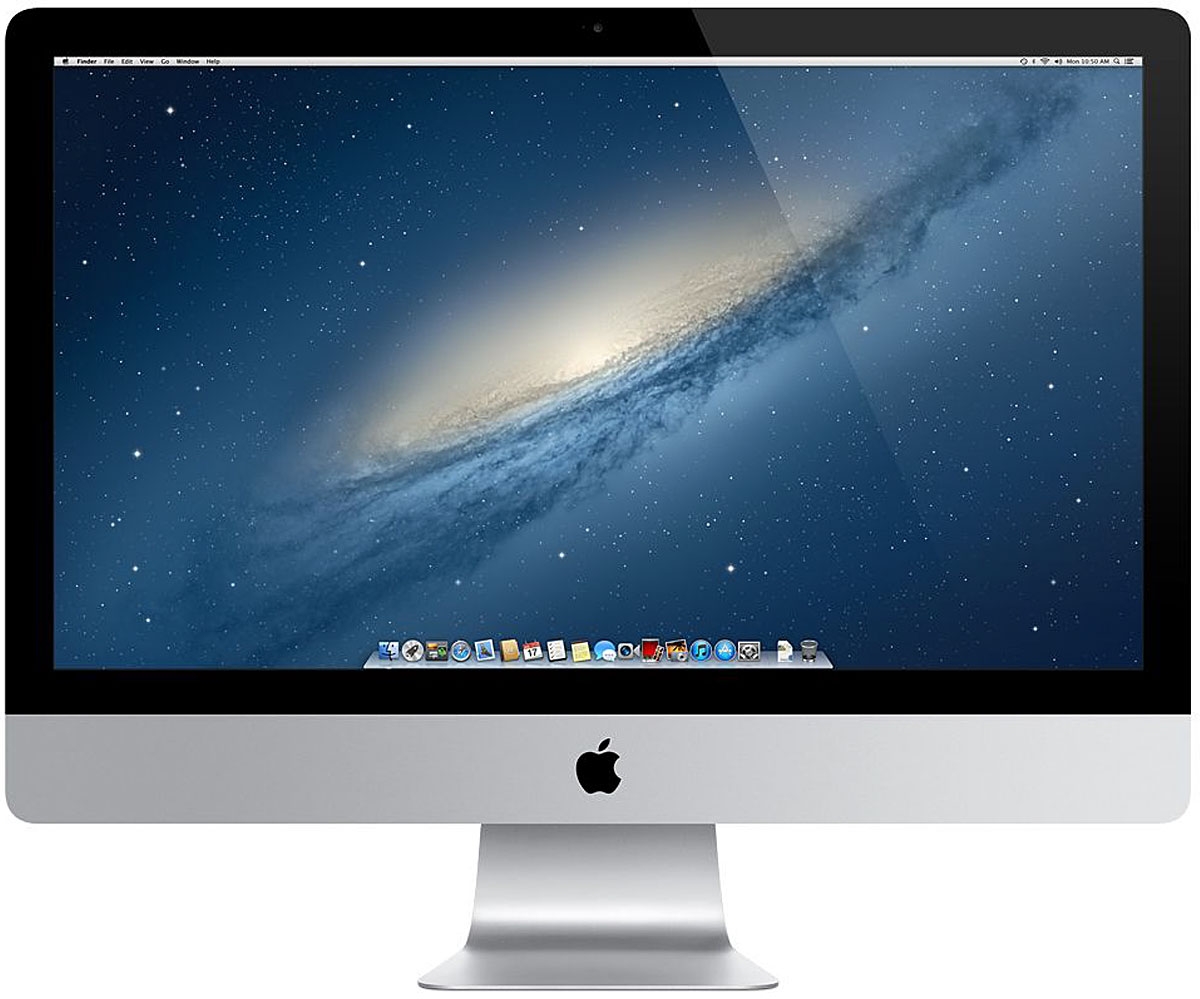
IMac with IOS X
Pros
The
macs had enough memory to hold all of our footage and other groups as
well, software data and documents we used for our researching and
planning. The mac would also autosave work if anything were to go wrong
e.g. the computer freezing or crashing.
The
IMac monitors had ultra HD retina display this meant during post
production we were able to view and tweak our footage with precision and
accuracy due to the immense detail that was displayed these monitors.
To add the monitors also had front HD cameras, which I used to record
many of video blogs. During the pre-production stage.
The
speaker on the macs where amazing especially for internal speakers, we
were able to listen to audio which was incredibly crisp and balanced.
This was extremely useful in the post production stage as we could use
them to distinguish if the artificial sound such as the breathing
sounded realistic. They honestly exceeded my expectations. The mic on
the IMacs was also amazing because they picked up audio really well, for
example, the audio was so sensitive that people had to be dead silent
while recording.
Cons
The
only con for the IMacs is that occasionally they kept crashing,
freezing or lagging. This was most likely down to the computers having
very little RAM or a slow processor this meant that it was very
difficult to multi-task with the computers not crashing.
Rode mic
Pros
 The
mic had an adapter, this adapter allowed it mount on top of the camera
this made it much easier to make what is usually a two-man job very
simple as it is attached to the camera. This also benefited us in the
fact that we could pick up audio directly from where we are pointing the
camera
The
mic had an adapter, this adapter allowed it mount on top of the camera
this made it much easier to make what is usually a two-man job very
simple as it is attached to the camera. This also benefited us in the
fact that we could pick up audio directly from where we are pointing the
camera
The
mic also had a noise cancellation feature this meant that unwanted
ambient sound could be blocked from entering the actual mic it's
self-meaning you can concentrate on the sound you want to isolate such
as the music we where rcording to guide us while editng the footage which is the reason why the lip sink was so precise and on beat whith the real song.
Cons
The
cons of this would be the fact that, although there was noise
cancellation, the mic would still pick up quite a lot of ambient sound.
It was so bad at one point we had completely get rid of all the audio
that was in the last shot because of the loud background noise.
Software

Final cut pro
Pros
Used
to edit any footage that was to be put onto YouTube for our blog - e.g.
interviews, focus groups interviews and our music video. That best thing
about this was that it saved everything u have ever edited meaning if
you lose it or are told to re-edit then it’s extremely quick and simple.
You’re also able to keep the editing and videos of interviews, focus
groups interviews and our thriller very consistent.
Simple
concept, in terms of cutting and editing a single footage. This is also
because the final cut pro software’s user interface was fairly simple
to use as it had so many shortcuts that you could use with less than
three simple presses e.g. command + Z undo’s a mistake u just did or
command +B which splits the footage.
Worked
well on Macs meaning the older version was just as good as the newer
one even using the old one on the old computer was still hustle free.
Cons
Sometimes
froze when added too many footages this would often slow down the
overall editing process, however, we are lucky as the iMacs would auto
automatically save the progress we had done, as a result it was a simple
fix.
Quite
difficult to cut to the exact spot you want to cut to solve this issue I
zoomed closer into a single footage and cut to the spot I needed to.
This is also something slowed down our progress.
Another problem we face was the fact that the macs cut our fotage meaning we where unable to edit so as a result w where struggling to recover the fottage
Another problem we face was the fact that the macs cut our fotage meaning we where unable to edit so as a result w where struggling to recover the fottage
Blogger
 Pros
Pros
Used
in pre-production and post-production, we mainly use blogger to record
everything we have been doing leading towards the production process,
then after we finished we did evaluation such as this. This is because
blogger is so easy to blog on because of the simple user interface.
Able
to alter time and date to have an organised group navigation bar. This
means easy for people to actually view your blog, if it’s extremely
large, due to the organisation.
Able
to upload things from a variety of websites, such as YouTube, Prezi and
Sound cloud. This is due to the embedding codes meaning you codes
upload a presentation from Prezi, YouTube or sound cloud by just simply
copying and pasting the codes.
Cons
The
images sometimes don't lay where I want them to be - however, I attempt
to place it elsewhere where it would look just as presentable. However,
they could easily fix this by allowing more places to put rather than
left right and middle.
No comments:
Post a Comment